Drag and drop email builder
Summary
In this article, you’ll learn how to use the Growmatik drag and drop email editor to create and edit content of your emails.
We’ll cover the following topics:
- Working with elements
- Image
- Text
- Social
- Button
- Products
- Blogs
- Video
- Coupon
- Spacer
- Order info
- Logo
- General settings
- Email preview
- Send test email
Working with elements
You can use any of these elements to create content of your emails:
- Image
- Text
- Social links
- Button
- Video
- Product list
- Blog list
- Coupon
- Spacer
- Order info
- Logo
Adding a new element
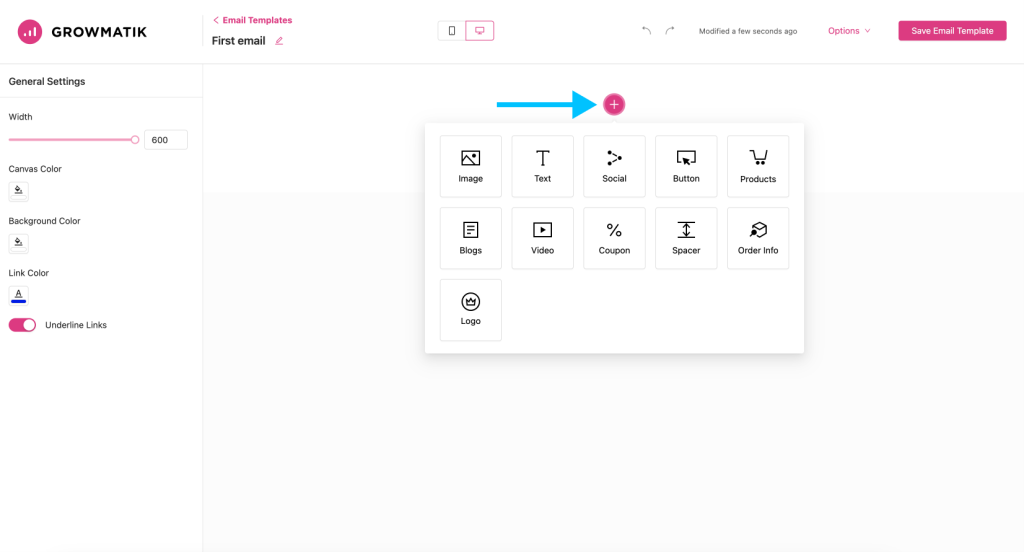
1. Click on the plus icon located in the content area.
2. From the menu that opens, choose an element and click on it to add to the page.
Editing elements
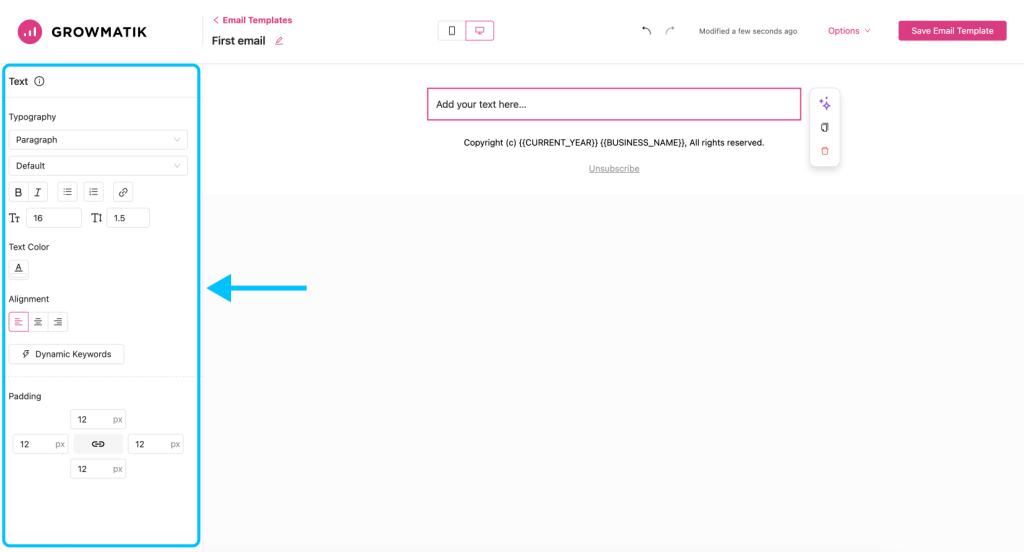
Select the element you want to edit to reveal its options on the left panel. Use these options to change the appearance of the selected element or modify some of its functions.
Removing an element
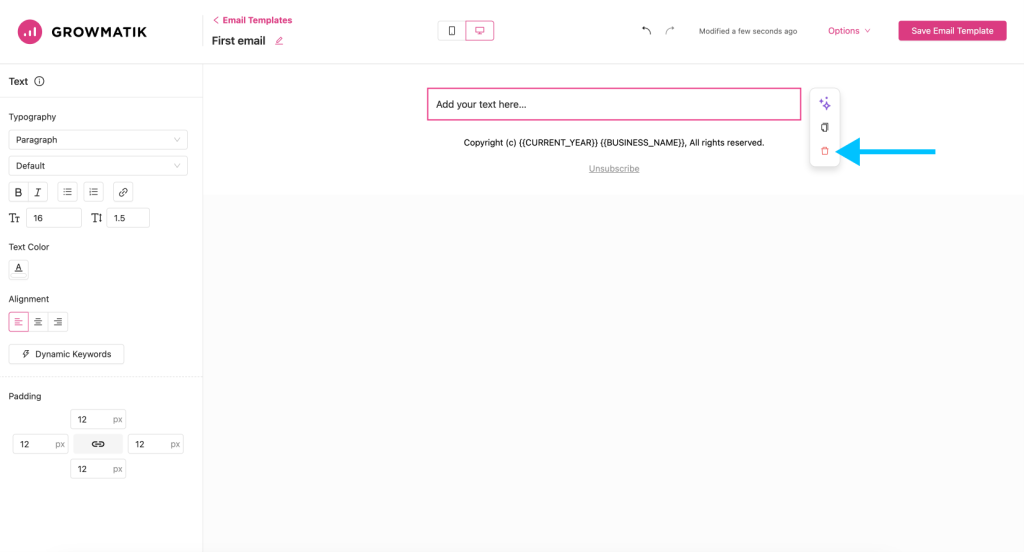
Select the element you want to remove and click on the trash icon that appears to the right of the selected element.
Duplicating an element
To make a copy of an element, select it first. Then from the box that appears to the right of the element, click on duplicate icon.
Re-ordering elements
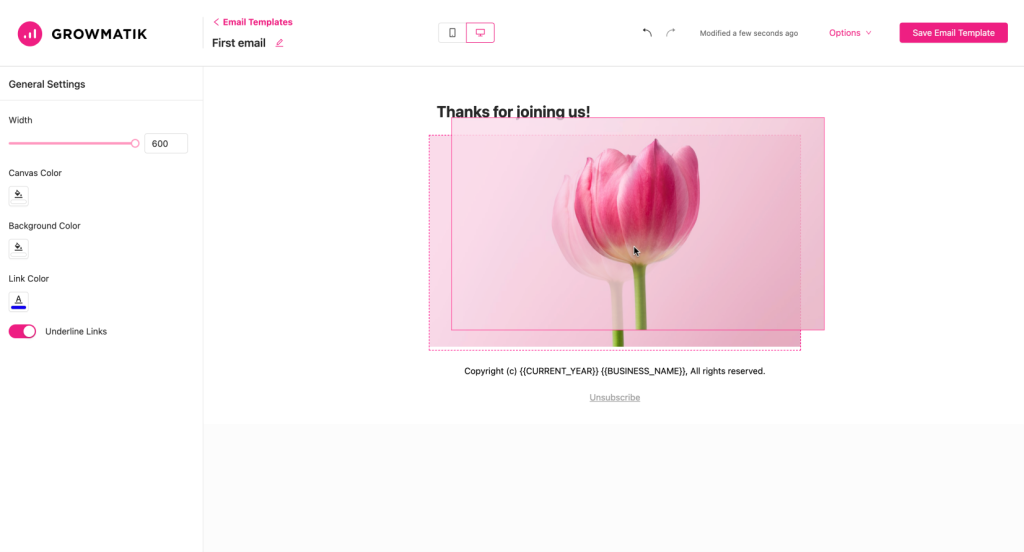
You can change the order of elements by selecting an element. While the element is selected press and hold down the mouse button and drag the element up or down. Release the mouse button when you are happy.
Image
Use an image element to insert an image into your email. You can either upload an image to your media library or select a free stock image provided by Unsplash website.
Text
Use the text element to add text to your email. Once you inserted the text element, you can change its formatting and typography from the left side panel. You can also make your text more personalized using dynamic keywords feature. To access this feature, select a text in your email and click on Dynamic keywords button. From the menu that opens, choose among variety of keywords to insert as part of text. Note that the dynamic keyword you have selected will be inserted into where your text cursor or caret is located.
Social
Use social element to insert social icons to your email. You can choose how the icons are aligned in your email along with options to customize their appearance including an option to use your own custom color for icons.
Button
Use button element to add call-to-action buttons to your email. There is an extensive set of options to customize the appearance of buttons.
Products
Use products element to add a list of products to your email. You can use filter drop-down menu to selectively display products based on variety of conditions including user behavior and shopping history. This way you can make sure that recipient will see a more personalized and relevant list of products. It’s recommended to incorporate Fallback filter just in case there is no personalized list of products. For example, if you choose Repeat orders from the filter menu and the recipient doesn’t have any repeat orders with your store, they would see an empty list of products unless you set a Fallback filter. Make sure to choose a more universal filter as fallback such as All products or category.
Moreover, there are options to customize the number of columns and appearance of product items.
Blogs
Similar to products element, you can use blogs element to display a list of blog posts. The content menu also helps curate a more personalized list of blogs with options such as recent, related, popular, etc.
Video
Use video element to include video items in your email. Currently, only YouTube videos are supported.
Coupon
Use coupon element to generate and add a discount coupon to your email. Growmatik allows you to create unique coupons that are generated for each recipient as well as universal coupons which are same for everyone. This powerful element is capable of generating highly targeted and advanced coupons suitable for different scenarios and marketing campaigns.
Spacer
Use spacer element to add a blank vertical space between elements. By enabling the divider option, you can add a visible divider line instead of blank space.
Order info
Use order info element to add useful information about customer’s latest orders to your email. This allows you to send regular order updates to your customers. You can include Shipping and Delivery Details, Order Details and Order Summary. In addition, you have the options to customize the appearance of header and description.
Logo
Use logo element to add your brand logo to your emails. You can set your brand logo in Workshop > Brand Styles and use it across email and popup campaigns. Alternatively, you can set a different logo to individual email by clicking on Replace button. However, this only applies to the existing email. To replace the logo universally, go to Workshop > Brand Styles.
General settings
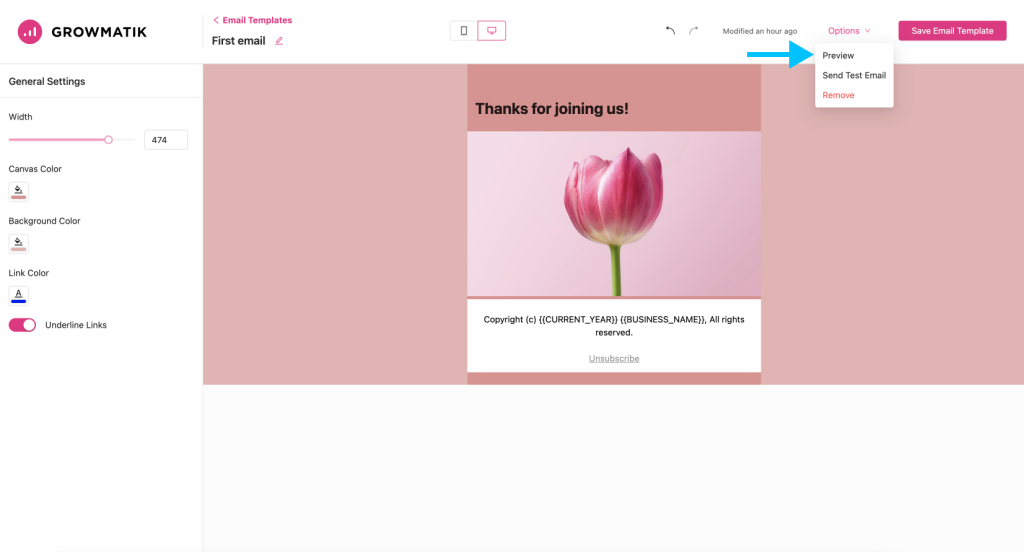
In addition to individual elements, you can change the general appearance of emails as well. To change the general settings, click on an empty area in the page. The panel containing general settings will appear on the left side of the screen. Here are the options available in general settings:
Width
Change the width of content area.
Canvas color
Change the background color of content area.
Background color
Change the background color of email body.
Link color
Change the color of any hyperlinked texts included in email content.
Underline links
Enable or disable the underline formatting of any hyperlinked texts included in email content.
Email preview
You can check to see if your email looks good on desktop and mobile devices. Please note that this preview is not accurate and the final outcome might be different on some email clients.
To enable the email preview, click on options button at the top. From the menu that opens, choose Preview.
Mobile preview
To make sure your email looks good on small screens you can use the mobile preview option. To switch to the mobile preview, click on the mobile icon on the top bar.
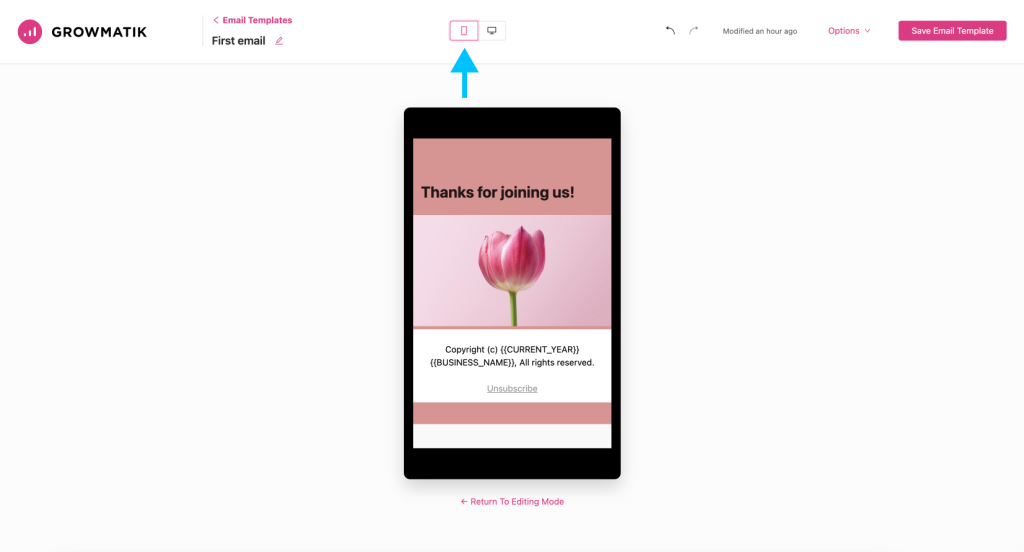
Note: You can not edit the content while the mobile preview is enabled. To continue editing, click on the Return to editing mode button.
Send test email
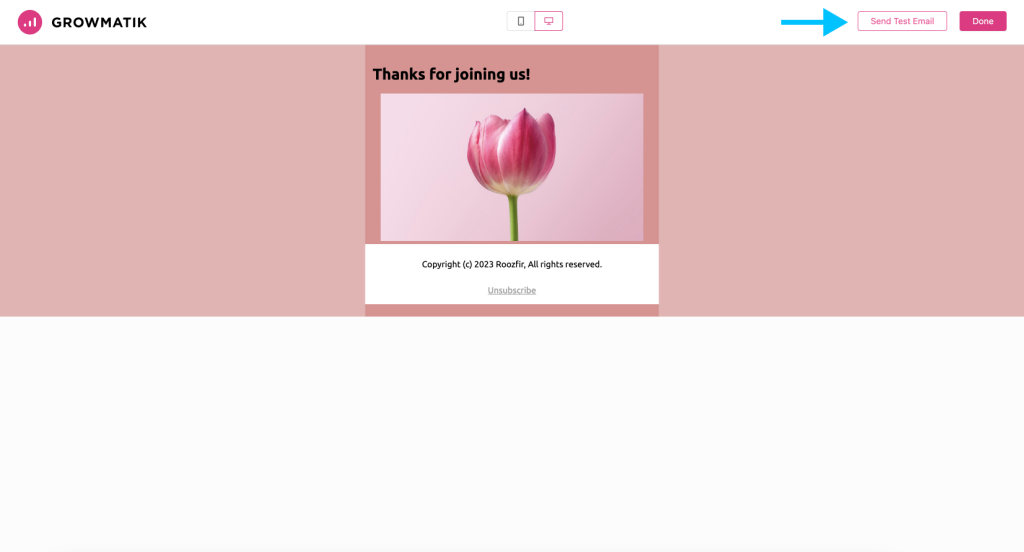
You can also send a test email and check it on your own email client for more accurate results. To send a test email while in preview mode:
1. Click on the Send Test Email button at the top.
2. From the window that opens, add any other email addresses you want to send the test email to. Make sure to use comma to separate email addresses in case there are multiple email addresses.
3. Click on Send button. You can exit the preview mode using the Done button on the top.
Note: You can also send test emails without leaving the edit mode using the options drop-down menu on the top.
